This Azure DevOps pipeline tutorial is all about getting your hands dirty. Forget the high-level theory for a moment. We're going to jump straight into a real-world project and build a complete Continuous Integration/Continuous Deployment (CI/CD) pipeline from the ground up, automating every step from a git push all the way to a live deployment.
Why Bother Mastering Azure DevOps Pipelines?
Look, knowing how to build a solid pipeline in Azure DevOps isn't just a neat trick anymore—it's a core expectation for any serious developer or operations pro. In the world of modern software, the speed and reliability of your code delivery can make or break a project. Azure Pipelines is the engine that drives this, connecting your code to your customers by automating all the tedious build, test, and deployment work.
This guide will give you a practical roadmap for the entire process. By the time we're done, you'll see firsthand how a well-oiled pipeline delivers real, measurable results. We're talking about benefits that directly impact the bottom line.
- Ship Faster: Automating the journey from a developer's machine to a live server cuts out the manual delays and bottlenecks that slow everyone down.
- Boost Code Quality: By running automated tests on every single commit, you catch bugs early and often, keeping them far away from your users.
- Get Everyone on the Same Page: A pipeline becomes the single source of truth for your builds and releases, giving the entire team a clear view of what’s happening.
The DevOps Skillset is in High Demand
The industry-wide move toward automation is impossible to ignore. The global DevOps market is on track to hit $15.06 billion in 2025, a massive leap from where it stands today. This explosion is driven by powerful, accessible platforms like Azure DevOps. With over 74% of organizations already running with DevOps practices, getting good with these tools is a smart career move. If you want to dig deeper, you can find more on the current state of DevOps in 2025.
As a developer or DevOps engineer, being able to point to a working, automated pipeline you've built is a powerful statement. It shows you don't just write code—you understand how to deliver it.
Core Components of an Azure DevOps Pipeline
Before we dive into building our pipeline, it helps to know the main players. Here’s a quick overview of the key services within Azure DevOps that we will use throughout this tutorial. Understanding how these pieces fit together is the first step toward building an effective pipeline.
| Component | Function | Role in Our Tutorial |
|---|---|---|
| Azure Repos | Provides private Git repositories for source code management. | This is where we’ll store our sample application's code. |
| Azure Pipelines | Automates the build and deployment of your code. | This is the heart of our tutorial, where we define our CI/CD workflow. |
| Azure Artifacts | Hosts and shares packages like NuGet, npm, and Maven. | We'll use this to store the compiled application package (the artifact) before deployment. |
These three services form the backbone of our automation setup. Now that we've got the lay of the land, let's start putting the pieces together.
Your First YAML Pipeline From Scratch
Theory is great, but there's nothing like getting your hands dirty to really make it stick. So, let's build our first YAML pipeline from the ground up. This isn't just a box-ticking exercise; it’s about embracing the "pipeline as code" philosophy that’s central to modern CI/CD.
We'll start by creating a new project in Azure DevOps. If you don’t have an organization set up, you can create one for free. From there, we’ll import a sample web application into Azure Repos. This gives us some actual code to work with, making the whole process far more practical.
Structuring Your First Pipeline File
With our code ready to go, it's time to create the heart of our automation: the azure-pipelines.yml file. This file lives right alongside your code in your Git repository. One of the best things about Azure Pipelines is that it’s smart enough to find this file on its own and use it to run your build.
YAML, which stands for "YAML Ain't Markup Language," is a human-readable format that uses indentation to define structure. Be careful here—getting your spacing right is non-negotiable. A misplaced space or accidentally using a tab is a classic rookie mistake that will cause validation errors.
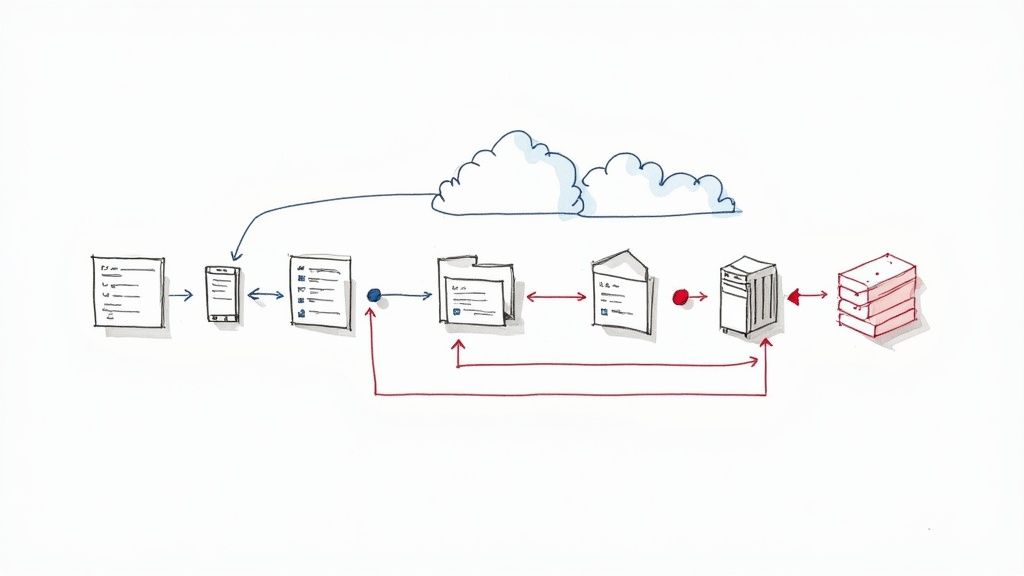
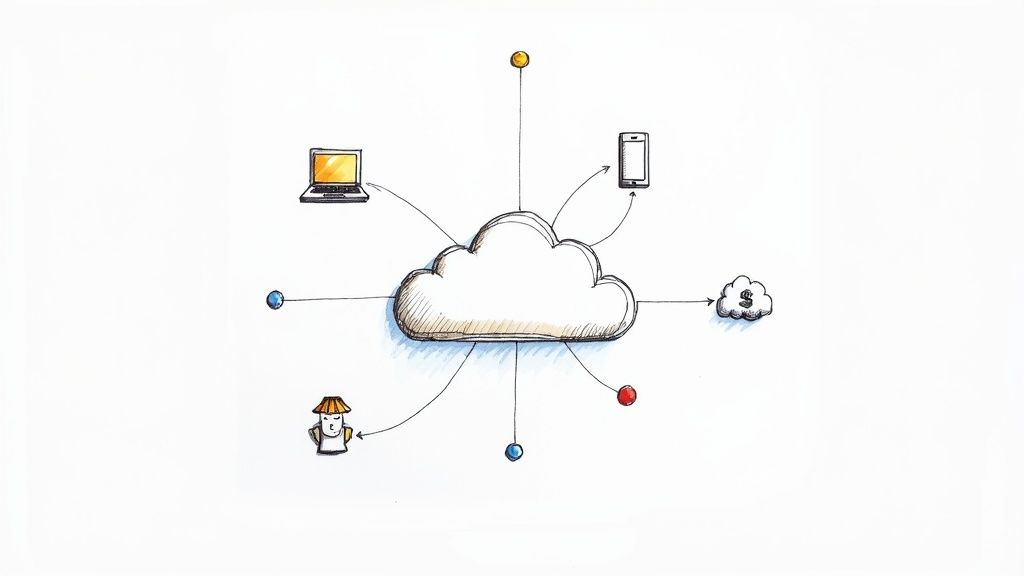
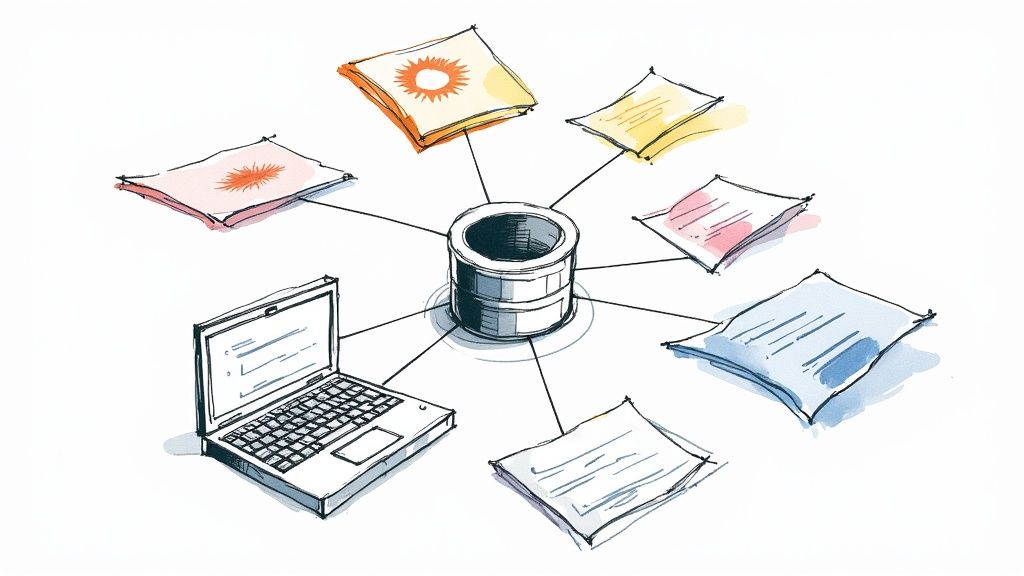
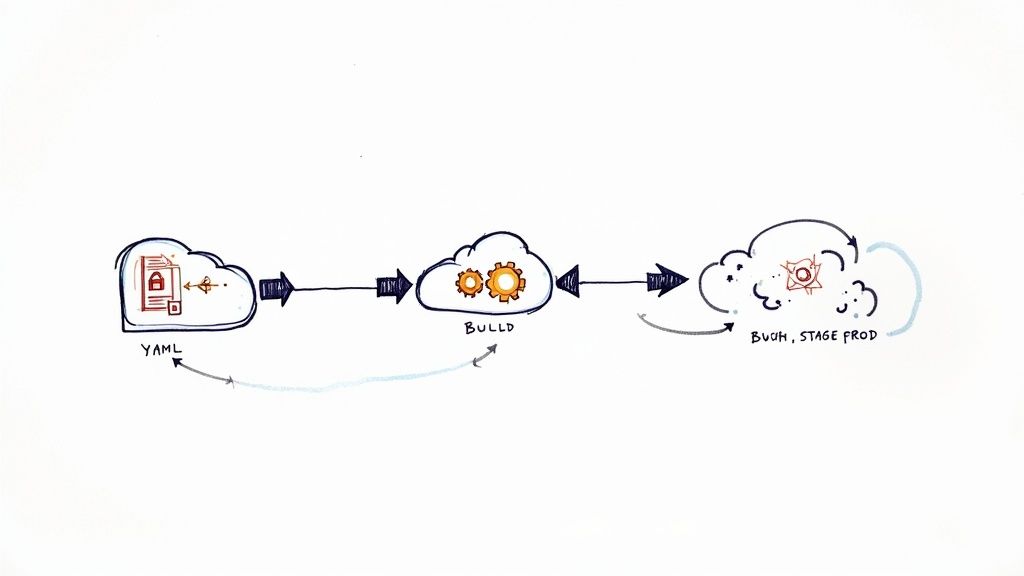
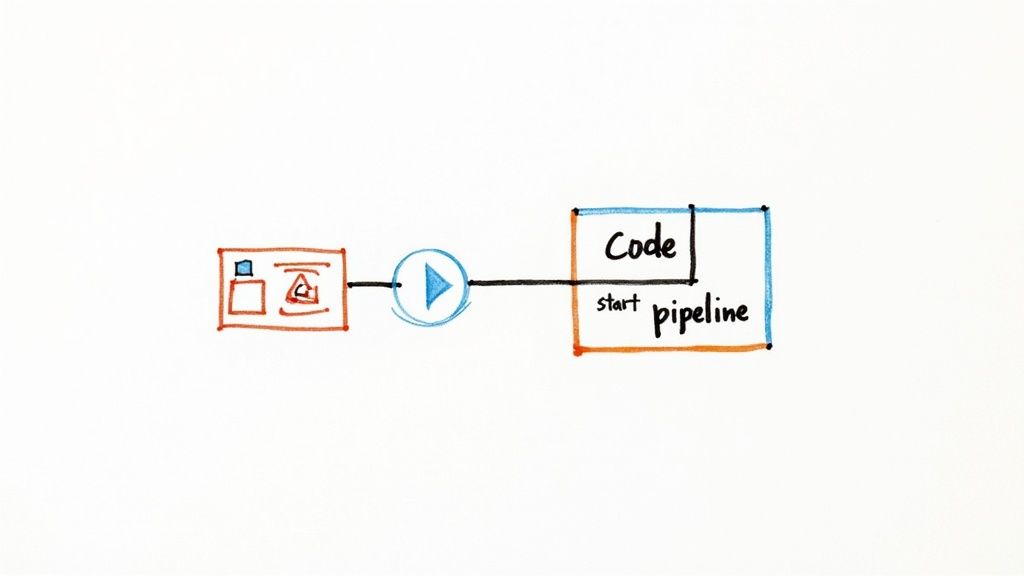
This graphic really helps visualize how a simple YAML file maps to a real pipeline in Azure DevOps.
As you can see, the YAML you commit directly controls the stages, jobs, and steps. It creates a workflow that's transparent and fully version-controlled.
Core YAML Syntax Breakdown
Your first pipeline will rely on a few essential building blocks. Getting a handle on what each one does is crucial for making this azure devops pipeline tutorial truly sink in.
- Trigger: This tells the pipeline when to run. A typical setup is triggering a run on every single push to the
mainbranch. - Pool: This defines what machine the job runs on. We'll use a Microsoft-hosted agent, which is a convenient VM that comes pre-loaded with common development tools.
- Stages: Think of these as the major phases of your pipeline, like 'Build' and 'Deploy'. A simple build pipeline might only need one stage.
- Jobs: Inside a stage, you have one or more jobs. Each job runs on a fresh agent and contains a sequence of steps.
- Steps: These are the smallest units of work—the individual commands and tasks like installing dependencies, compiling your code, or running unit tests.
Here’s a bare-bones example for a .NET application. All you need to do is commit a file like this to the root of your repository to kick things off.
azure-pipelines.yml
trigger:
- main
pool:
vmImage: 'windows-latest'
stages:
- stage: Build
displayName: 'Build the web application'
jobs:- job: BuildJob
steps:-
task: DotNetCoreCLI@2
displayName: 'Restore NuGet packages'
inputs:
command: 'restore'
projects: '**/*.csproj' -
task: DotNetCoreCLI@2
displayName: 'Build the project'
inputs:
command: 'build'
projects: '**/*.csproj'
arguments: '–configuration Release'
-
- job: BuildJob
Once you commit this file and push it to your main branch, pop over to the Pipelines section in your project. You should see that Azure DevOps has already detected the file and started a run. That automatic discovery is a fantastic time-saver.
The real game-changer with YAML pipelines is that your build process is now version-controlled right alongside your application code. Every change to the build is tracked in Git, making it auditable, reviewable, and easy to roll back.
Committing and Running the Pipeline
After you push the azure-pipelines.yml file, the magic happens. Azure Pipelines queues up a new job based on your definition. You can click into the running pipeline to watch its progress in real time. You’ll see the agent fire up, your code get checked out, and each step execute one by one.
If a step fails, the pipeline stops, and the logs will give you detailed error messages to help figure out what went wrong. A typo in a file path or a missing dependency is a common first-timer trip-up, and the logs are your best friend for debugging.
By the end of this, you’ll have a working build pipeline. It might be simple, but it's a solid foundation. You’ve successfully turned a text file into an automated, repeatable process that compiles your code—the most critical first step toward a full-blown CI/CD workflow.
A pipeline that just compiles code is a good first step, but real-world workflows demand more. A successful build is just the beginning. Now, we'll take our basic pipeline and give it a proper structure by creating a dedicated build stage. This stage will compile, test, and package our application for deployment, separating concerns for a much cleaner and more reliable process.
Our main goal here is to create build artifacts. Think of an artifact as a shippable unit—a zip file, a Docker image, or a NuGet package—that contains everything needed for the next stage, which is typically deployment.
Structuring the Build Stage
Let's start by refining our azure-pipelines.yml file to be more organized. While we might already have a Build stage, we're going to flesh it out with meaningful steps. A professional build stage usually handles several key responsibilities:
- Restoring Dependencies: This step makes sure all the required libraries and packages for your project are downloaded and ready before compilation even starts.
- Running Unit Tests: You should always run automated tests. This step executes your unit tests and will fail the build if any of them don't pass, catching bugs long before they ever reach a production environment.
- Compiling the Application: This is where the magic happens. The source code is transformed into executable files.
- Packaging the Output: Finally, all the compiled files are gathered up and packaged into a single, deployable artifact.
This multi-step approach makes your pipeline incredibly transparent. If something fails, you'll know exactly where it broke—whether it was in testing, compilation, or packaging.
Creating and Publishing Build Artifacts
The final, and arguably most critical, step in any build stage is publishing the artifact. If you skip this, the results of your build are simply lost when the build agent shuts down. The PublishBuildArtifacts task is designed specifically to solve this.
This task takes the output from your build and uploads it to a secure spot within Azure DevOps, linking it directly to that specific pipeline run. From there, other stages, like a deployment stage, can easily download and use this artifact.
In my experience, forgetting to publish artifacts is one of the most common mistakes for newcomers. The build runs perfectly, but then there's nothing to deploy. You should always end your build stage with a publish task to make the output available for the rest of your CI/CD process.
The benefits of a well-structured pipeline quickly become clear. Teams that properly use Azure DevOps pipelines see huge productivity gains. Centralized features like Azure Repos provide secure version control, and Azure Boards gives everyone visibility into project status. Managing outputs with Azure Artifacts also ensures you have consistent builds across different environments, which cuts down on those frustrating "it works on my machine" errors. You can learn more about the benefits of this integrated ecosystem and how it drives efficiency.
An Example Build Stage with Artifacts
Let's look at what a more complete build stage looks like in YAML. This example is for a .NET web application and includes restoring dependencies, running tests, building the project in release mode, and finally, publishing the output as a .zip file.
stages:
- stage: Build
displayName: 'Build and Test'
jobs:- job: BuildJob
pool:
vmImage: 'windows-latest'
steps:-
task: DotNetCoreCLI@2
displayName: 'Restore Dependencies'
inputs:
command: 'restore'
projects: '**/*.csproj' -
task: DotNetCoreCLI@2
displayName: 'Run Unit Tests'
inputs:
command: 'test'
projects: '**/*Tests.csproj'
arguments: '–configuration Release' -
task: DotNetCoreCLI@2
displayName: 'Build Application'
inputs:
command: 'publish'
publishWebProjects: true
arguments: '–configuration Release –output $(Build.ArtifactStagingDirectory)'
zipAfterPublish: true -
task: PublishBuildArtifacts@1
displayName: 'Publish Artifact'
inputs:
PathtoPublish: '$(Build.ArtifactStagingDirectory)'
ArtifactName: 'webapp'
publishLocation: 'Container'
-
- job: BuildJob
Take note of the predefined variable $(Build.ArtifactStagingDirectory). This is a handy, temporary local path on the build agent where you can collect all the files you want to include in your artifact before publishing them.
With a setup like this, you have a robust and repeatable build process. Every time code is pushed, it will be automatically built, tested, and packaged into a clean, versioned artifact, ready and waiting for the next step: deployment.
Deploying Your App to Azure App Service
So, you've got a clean build artifact tucked away and ready to go. This is the moment where the "CD" in CI/CD really kicks into gear. The next logical step is to get that package out of storage and into a live environment. We'll be deploying to Azure App Service, which is a fantastic and incredibly common choice for hosting web applications.
This means we'll need to expand our YAML pipeline by adding a new deployment stage. I'll walk you through setting up the secure connections to your Azure account and defining the exact steps needed to push your app live.
Establishing a Secure Connection to Azure
Before your pipeline can touch anything in your Azure account, it needs permission. And let's be clear: you never want to hardcode credentials directly in your YAML file. That's a huge security no-go. The right way to do this is with a Service Connection.
Think of a Service Connection as a secure handshake between Azure DevOps and your Azure subscription. It safely stores the necessary credentials (usually a Service Principal) inside your DevOps project, letting the pipeline authenticate without ever exposing secrets in your code.
Setting one up is straightforward:
- Head over to Project Settings in the bottom-left of your Azure DevOps project.
- Under the "Pipelines" header, click on Service Connections.
- Create a new connection, choosing "Azure Resource Manager" and then the "Service principal (automatic)" method. Azure DevOps does most of the heavy lifting for you here.
Once that's done, you can just reference this connection by its name in your YAML file. It’s a simple and secure way to give your pipeline the authority it needs.
Defining Environments and Deployment Jobs
In release management, the concept of environments is critical. An environment in Azure DevOps isn't just a label; it’s a deployment target that represents a place like Development, Staging, or Production. Defining these lets you track your deployment history and, more importantly, put safeguards in place.
For example, you can configure an environment to require manual approval before a deployment can proceed. This is a lifesaver for production environments. It creates a gate where a team lead or project manager has to give a final "OK" before the new version goes live, preventing accidental or unvetted releases.
My personal rule of thumb is to always enforce a manual approval gate for any environment that is customer-facing. It has saved my teams from pushing faulty code more times than I can count. A simple click from a stakeholder forces a final sanity check before release.
Back in the YAML file, you'll create a new stage that contains a deployment job. This is different from a standard job because it's designed specifically for releases and hooks directly into the environments you've defined. To get a better handle on the platform we're deploying to, take a look at our guide on what is Azure App Service and its capabilities.
Structuring the Deployment Stage
Alright, let's put it all together. Here’s how you’d bolt a deployment stage onto your azure-pipelines.yml file to push our webapp artifact. This example assumes you have an App Service already created named my-sample-webapp and a Service Connection called MyAzureConnection.
stages:
-
stage: Build
… (build stage from previous section)
-
stage: Deploy
displayName: 'Deploy to Staging'
dependsOn: Build
jobs:- deployment: DeployWebApp
displayName: 'Deploy Web App'
environment: 'Staging' # Name of the environment in Azure DevOps
pool:
vmImage: 'windows-latest'
strategy:
runOnce:
deploy:
steps:
– task: AzureWebApp@1
displayName: 'Deploy Azure App Service'
inputs:
azureSubscription: 'MyAzureConnection'
appType: 'webApp'
appName: 'my-sample-webapp'
package: '$(Pipeline.Workspace)/webapp/$(Build.BuildNumber).zip'
- deployment: DeployWebApp
See the dependsOn: Build line? That’s crucial. It tells Azure DevOps not to even think about deploying unless the Build stage was a success. The package input also points directly to the artifact we published earlier, using built-in variables to find the exact file path.
YAML Pipeline vs Classic UI Pipeline
When you start out with Azure DevOps, you'll notice there are two ways to build pipelines: with YAML code (like we are here) or through the Classic visual editor. Both get the job done, but they’re built for different workflows.
Here’s a quick breakdown to help you see the difference.
| Feature | YAML Pipelines (Code) | Classic Pipelines (UI) |
|---|---|---|
| Definition | Defined as a .yml file that lives right alongside your application code. |
Created and managed through a graphical drag-and-drop web interface. |
| Versioning | Version-controlled with Git. Changes are part of your commit history. | Versioning is handled internally by Azure DevOps, separate from your code. |
| Reusability | Excellent for creating reusable templates and sharing logic across projects. | Less portable. You can clone pipelines, but sharing small snippets is clunky. |
| Learning Curve | Steeper at first. You have to learn the YAML syntax and structure. | Very beginner-friendly. It’s more intuitive for visual thinkers. |
| Best For | Teams comfortable with code, complex pipelines, and "pipeline-as-code" best practices. | Teams new to CI/CD or those who prefer a visual workflow for simple releases. |
While the Classic UI is great for getting started, we're sticking with YAML for this guide. It truly represents the modern standard for pipeline-as-code. Defining your entire CI/CD process in a file that lives with your source code gives you a single, auditable source of truth, which is invaluable as your projects grow in complexity.
Advanced Pipeline Strategies and Optimizations
So, you've got a functional CI/CD workflow up and running. That's a huge milestone, but in my experience, a working pipeline is really just the starting point. To truly get the most out of Azure DevOps, we need to shift our focus to making it efficient, secure, and scalable.
This is where we move beyond a simple, linear process and start applying the advanced strategies that high-performing teams use every day. These optimizations aren't just for show—they directly boost your development velocity and the quality of your code. Let's dive into some of the most impactful techniques.
Scaling with Pipeline Templates
As your organization grows, so will your number of pipelines. Before you know it, you could have dozens, or even hundreds, across different projects. Without a solid plan, this quickly turns into chaos. You'll find yourself copying and pasting YAML, and when you need to update a common task, you’re stuck hunting down and editing every single pipeline manually.
This is where pipeline templates are an absolute game-changer.
Templates let you define reusable chunks of your pipeline—a set of steps, a job, or even an entire stage—in one central file. Your individual pipelines then just reference that template, inheriting all its logic. Think of it like a function in your code; you define it once and call it wherever you need it, which is perfect for a Don't Repeat Yourself (DRY) approach to CI/CD.
A classic example is creating a standard build template that all microservices in your company must follow. This enforces consistency and ensures every service is built and tested the same way. When a new security tool needs to be added, you just update the central template, and every pipeline using it gets the new logic automatically.
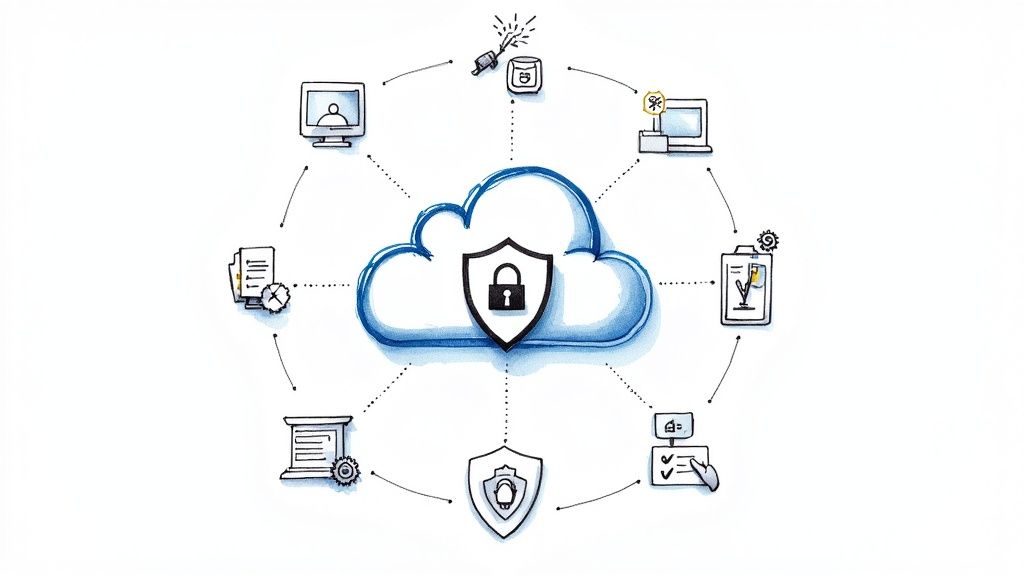
Integrating Security with DevSecOps
Shifting security "to the left"—meaning earlier in the development lifecycle—is the core idea behind DevSecOps. Instead of waiting for a manual security audit right before a release, you embed automated security scanning directly into your pipeline. This approach makes security a shared responsibility and helps you catch vulnerabilities when they are cheapest and easiest to fix.
By 2025, Azure DevOps has become a central hub for companies adopting DevSecOps. In fact, roughly 95% of businesses using the platform have woven security checks directly into their pipelines. This adoption has been fueled by AI-powered features that have helped slash error rates by about 30% by spotting potential failures before they even happen.
Here are a few common security tools you can easily integrate:
- Static Application Security Testing (SAST): Tools like SonarCloud or the built-in Microsoft Security Code Analysis scan your source code for known security flaws.
- Dependency Scanning: This checks your open-source packages for known vulnerabilities. Azure DevOps has a native task for this you can add in seconds.
- Secret Scanning: This hunts for accidentally committed secrets like API keys or connection strings hiding in your code.
Integrating these scans is surprisingly straightforward. They are just additional tasks you add to your YAML file, usually in the build stage. If a scanner finds a high-severity issue, you can configure it to fail the pipeline, preventing vulnerable code from ever reaching production.
Optimizing Pipeline Performance
As your application grows, your build times inevitably will too. A pipeline that creeps up to 30 minutes can become a serious bottleneck for your team. Faster feedback is the name of the game, and luckily, there are several effective strategies to speed things up.
One of the most effective methods I've used is dependency caching. Tasks like npm install or dotnet restore can take a long time because they download packages from the internet on every single run. The Cache task in Azure Pipelines lets you store these dependencies after the first run and restore them almost instantly on subsequent builds, often shaving minutes off your total run time.
Another powerful technique is running jobs in parallel. By default, jobs in a stage run one after another. But if you have independent tasks—like running unit tests and building a Docker image—you can configure them to run at the same time on separate agents. For more complex automation, knowing your way around scripting runtimes is a big help. You might find our guide on installing and using the Azure PowerShell module useful for these kinds of advanced scripting needs.
Common Questions About Azure DevOps Pipelines
As you get deeper into this Azure DevOps pipeline tutorial, you'll naturally start bumping into some practical questions. It's one thing to understand the theory, but putting it into practice in the real world always uncovers specific challenges and details the documentation might gloss over. This section tackles some of the most common questions I get from developers and teams just starting their CI/CD journey.
Can You Mix YAML and Classic Pipelines?
This one comes up all the time. Can you use the new YAML pipelines alongside the older, UI-driven Classic Release pipelines? The answer is a firm yes. In fact, this hybrid approach is incredibly common and often makes a lot of sense for teams transitioning to a pipeline-as-code model.
You can set up a YAML pipeline to own your Continuous Integration (CI) process—building your code, running tests, and publishing an artifact. From there, you can configure that build artifact to automatically trigger a Classic Release pipeline to handle your deployments. Many teams still love the visual, drag-and-drop interface for orchestrating complex deployments across different environments, especially when manual approval gates are involved. It gives a really clear, graphical map of the release process that some people, especially in operations, find much easier to follow.
This hybrid strategy is a fantastic "best of both worlds" solution. Developers get to keep the build logic version-controlled right alongside their source code, while operations teams can stick with the visual workflow they're comfortable with for managing releases. It’s a very pragmatic way to ease into a full YAML setup without disrupting everyone.
How Should You Handle Database Migrations?
Automating your app deployment is great, but what about the database? This is a huge piece of the puzzle that many tutorials skip, and getting it wrong can cause some truly catastrophic deployment failures.
The best strategy by far is to treat database migrations as a dedicated, first-class step within your deployment stage. This guarantees your database schema gets updated right before the new application code goes live, which is critical for keeping them in sync.
- Use a Migration Tool: Don't reinvent the wheel. Use proven tools like Entity Framework migrations if you're in the .NET world, or something like Flyway or Liquibase for Java projects. These let you version your database schema changes just like you version your code.
- Run Scripts from a Pipeline Task: Add a simple command-line or PowerShell task to your YAML deployment job. This task will execute the migration command against your target database.
- Always Plan for Failure: When you're dealing with sensitive environments like production, it's a good idea to run your migrations inside a database transaction. That way, if a script fails partway through, the database can automatically roll back to its previous state. This prevents you from getting stuck in a broken, half-migrated mess.
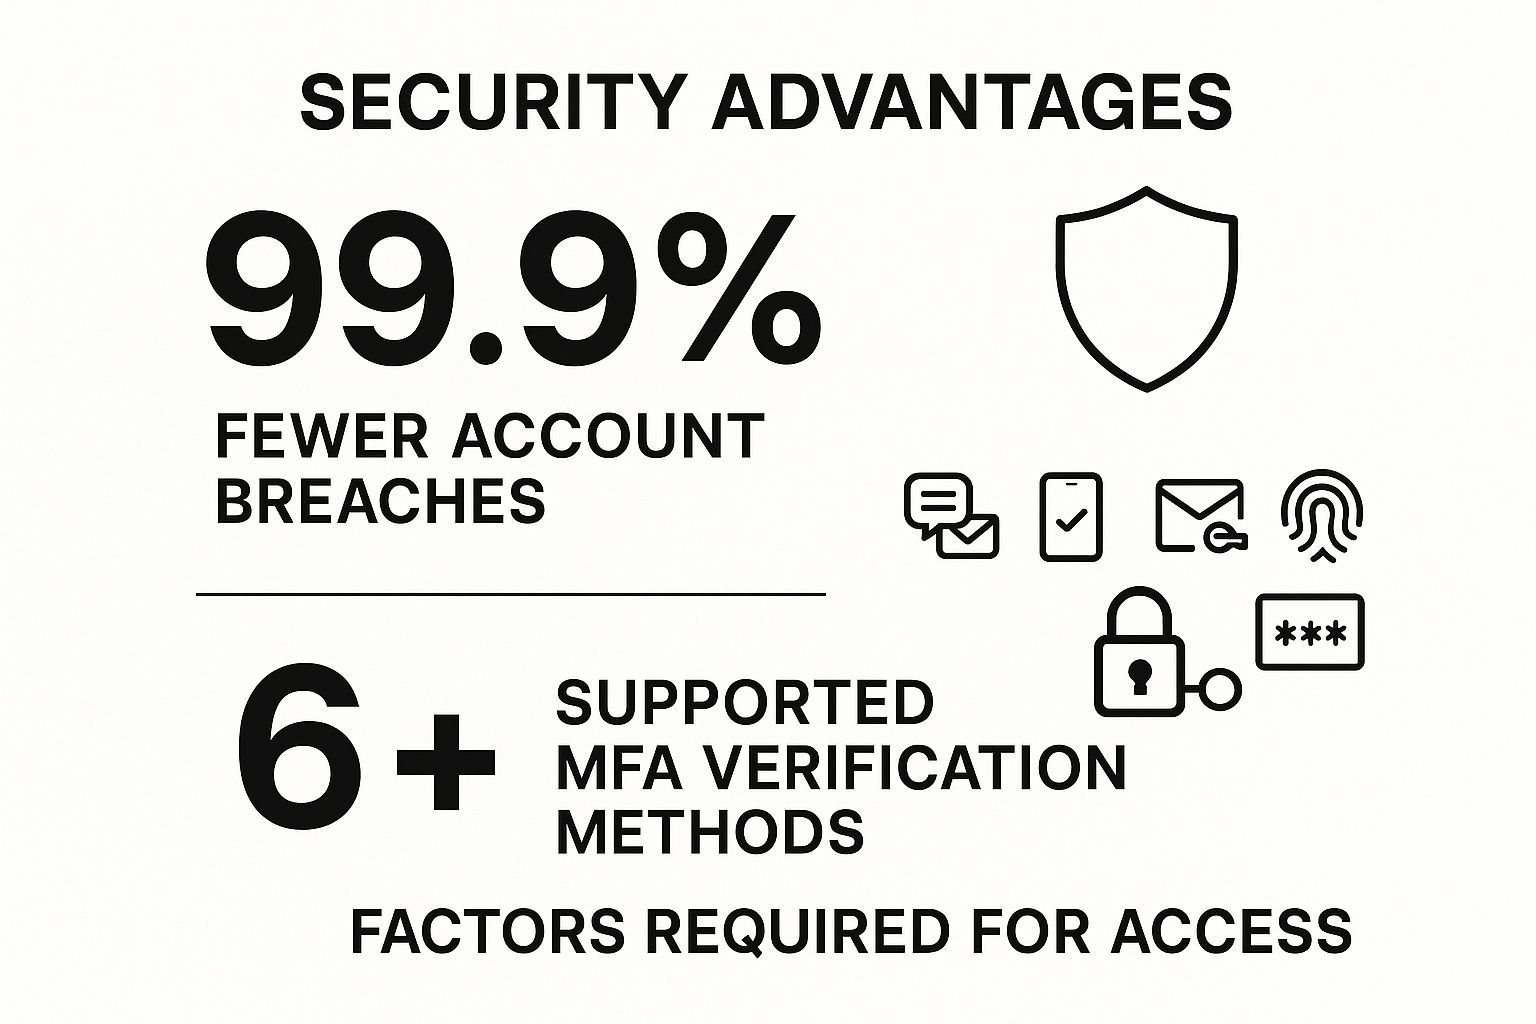
What Is the Best Way to Manage Variables and Secrets?
Figuring out how to handle configuration—things like connection strings, API keys, and other secrets—is absolutely crucial for a secure pipeline. Hardcoding these values directly into your azure-pipelines.yml file is a massive security no-no and something you must avoid.
For non-sensitive variables that just change between environments (like a resource group name or an application setting), the best practice is to use Variable Groups from the Azure DevOps Library. These are just reusable collections of key-value pairs that you can link to one or more pipelines.
When it comes to real secrets, the gold standard is integrating with Azure Key Vault. It's a managed service specifically built for securely storing and controlling access to secrets.
You can link a Variable Group directly to an Azure Key Vault instance. Once connected, your pipeline can pull the secrets it needs at runtime without them ever being exposed in your pipeline definition or logs. It's clean, it's secure, and it's what you should be doing. Understanding how different Azure services communicate is key; for more on asynchronous messaging patterns that often require secure credentials, you can learn more about what Azure Service Bus is and its role in modern applications.
Are you preparing for the AZ-204 exam? Don't leave your success to chance. AZ-204 Fast provides the focused, evidence-based study tools you need to master the material efficiently. With interactive flashcards, comprehensive cheat sheets, and dynamically generated practice exams, we help you study smarter, not harder.
Check out https://az204fast.com to start your accelerated path to certification today.